Thursday, October 28, 2010

Handmade boxes and file boxes

Boy, what fun I had with these.  In making my own handmade albums, I always wanted to place them in a decorative, protective box that matched the album.  Going to the store and buying one for a particular album I had made to give as a gift, left me with the same feelings of frustration as I had with finding the right store-bought album.  Never the right color, the right size, etc.   So, I embarked on a mission - I wondered if I could make my own.  Set forth below are a couple of the boxes that I made for albums.  Even though they need refinement, they turned out pretty cute for my first attempts several years ago, at making boxes from chipboard and paper.


This box is actually a wooden cigar box that has been covered with paper created by photo editing software, taking my own heritage family pictures and printing them on paper to cover the box.  All of the people in this cover paper are my ancestors.  I got the box from a dear friend of mine, Carol Clark, which allowed me to work with this cigar box.  It actually looks like a leather bound book if you were to sit it on a book shelf - the spine that is.


The picture above shows you the leather spine on the cigar box, along with the paper that I generated from my home pictures and photo editing software.  


Above is a bottom shot of the box - painted a soft sea foam green and later I used gold Rub and Buff on the simulated "pages" of the box.


Ah, these were fun - they are all sorts of accordian file boxes - I store everything from pictures, to DVD movies, to CD backups of my files, to business receipts, and even recipes........... the sky is the limit, and they are totally addictive to make - simple too.  I would come home from work every night and make another one.


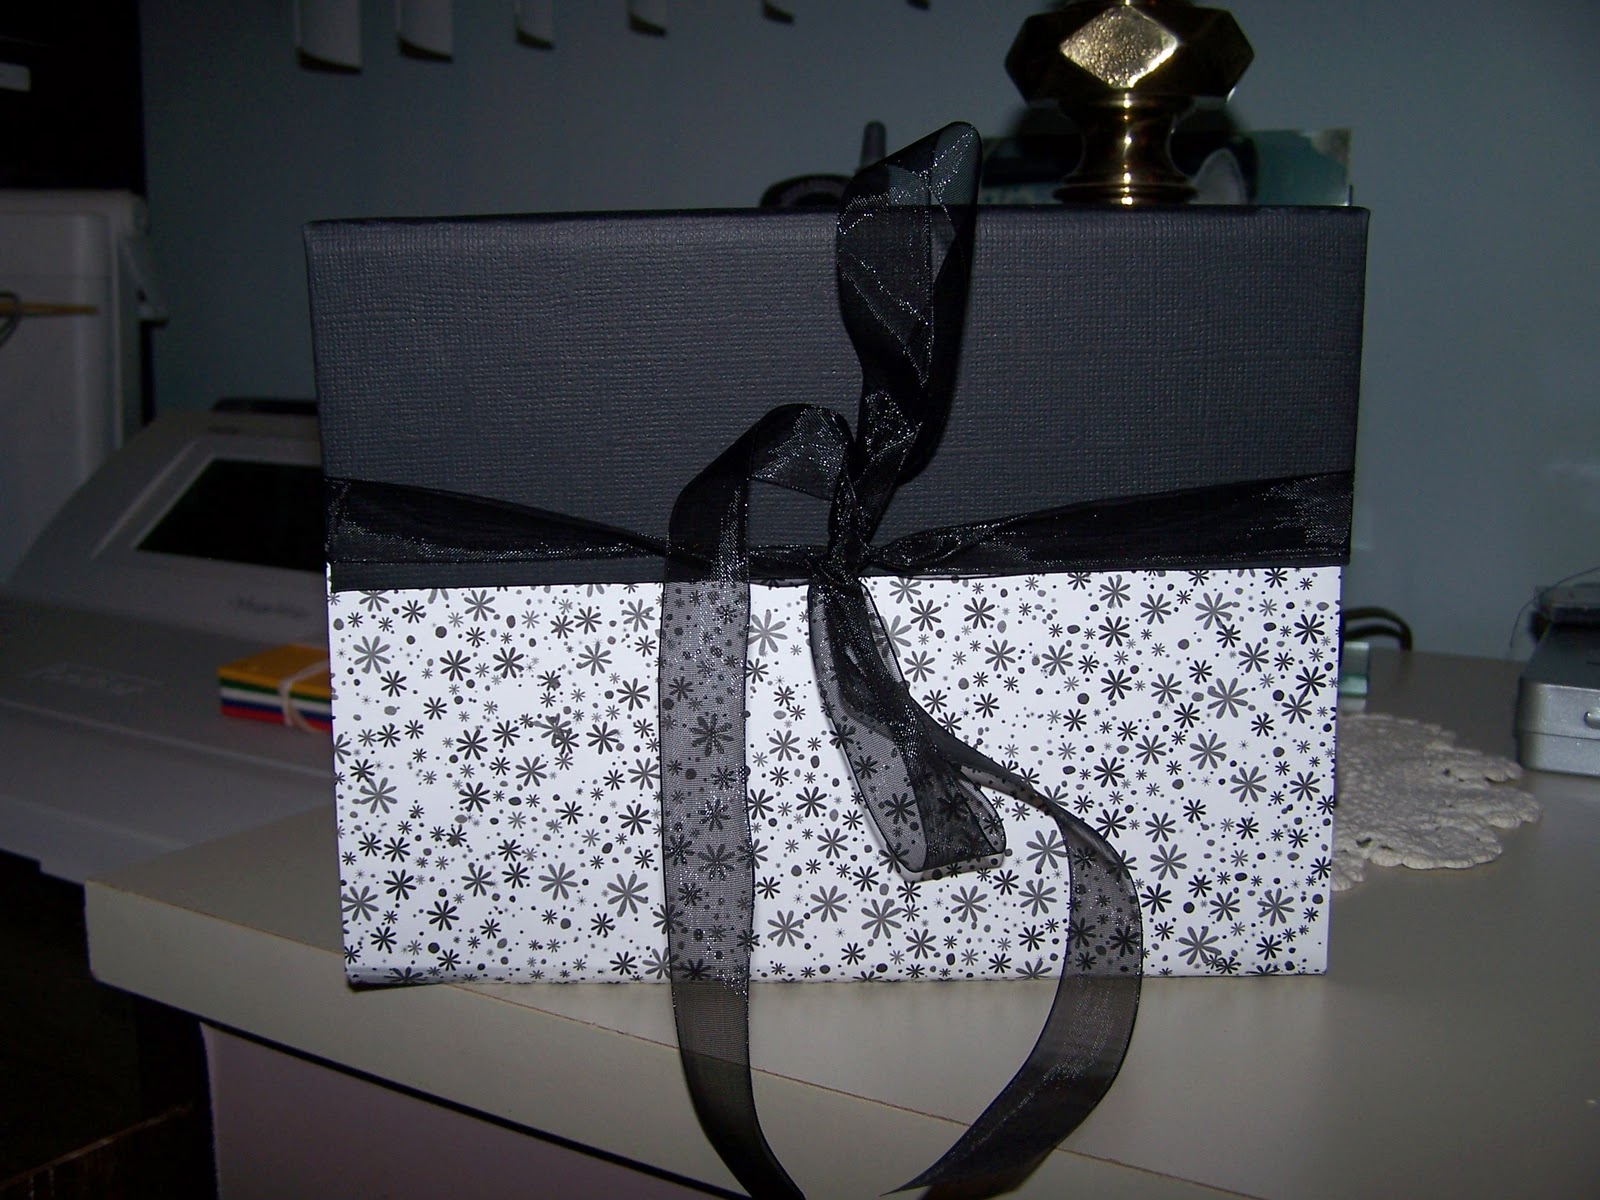
Here's on of the file boxes - loved this one - love the classic black and white - gender neutral for gift giving.


Another shot of the black and white box.


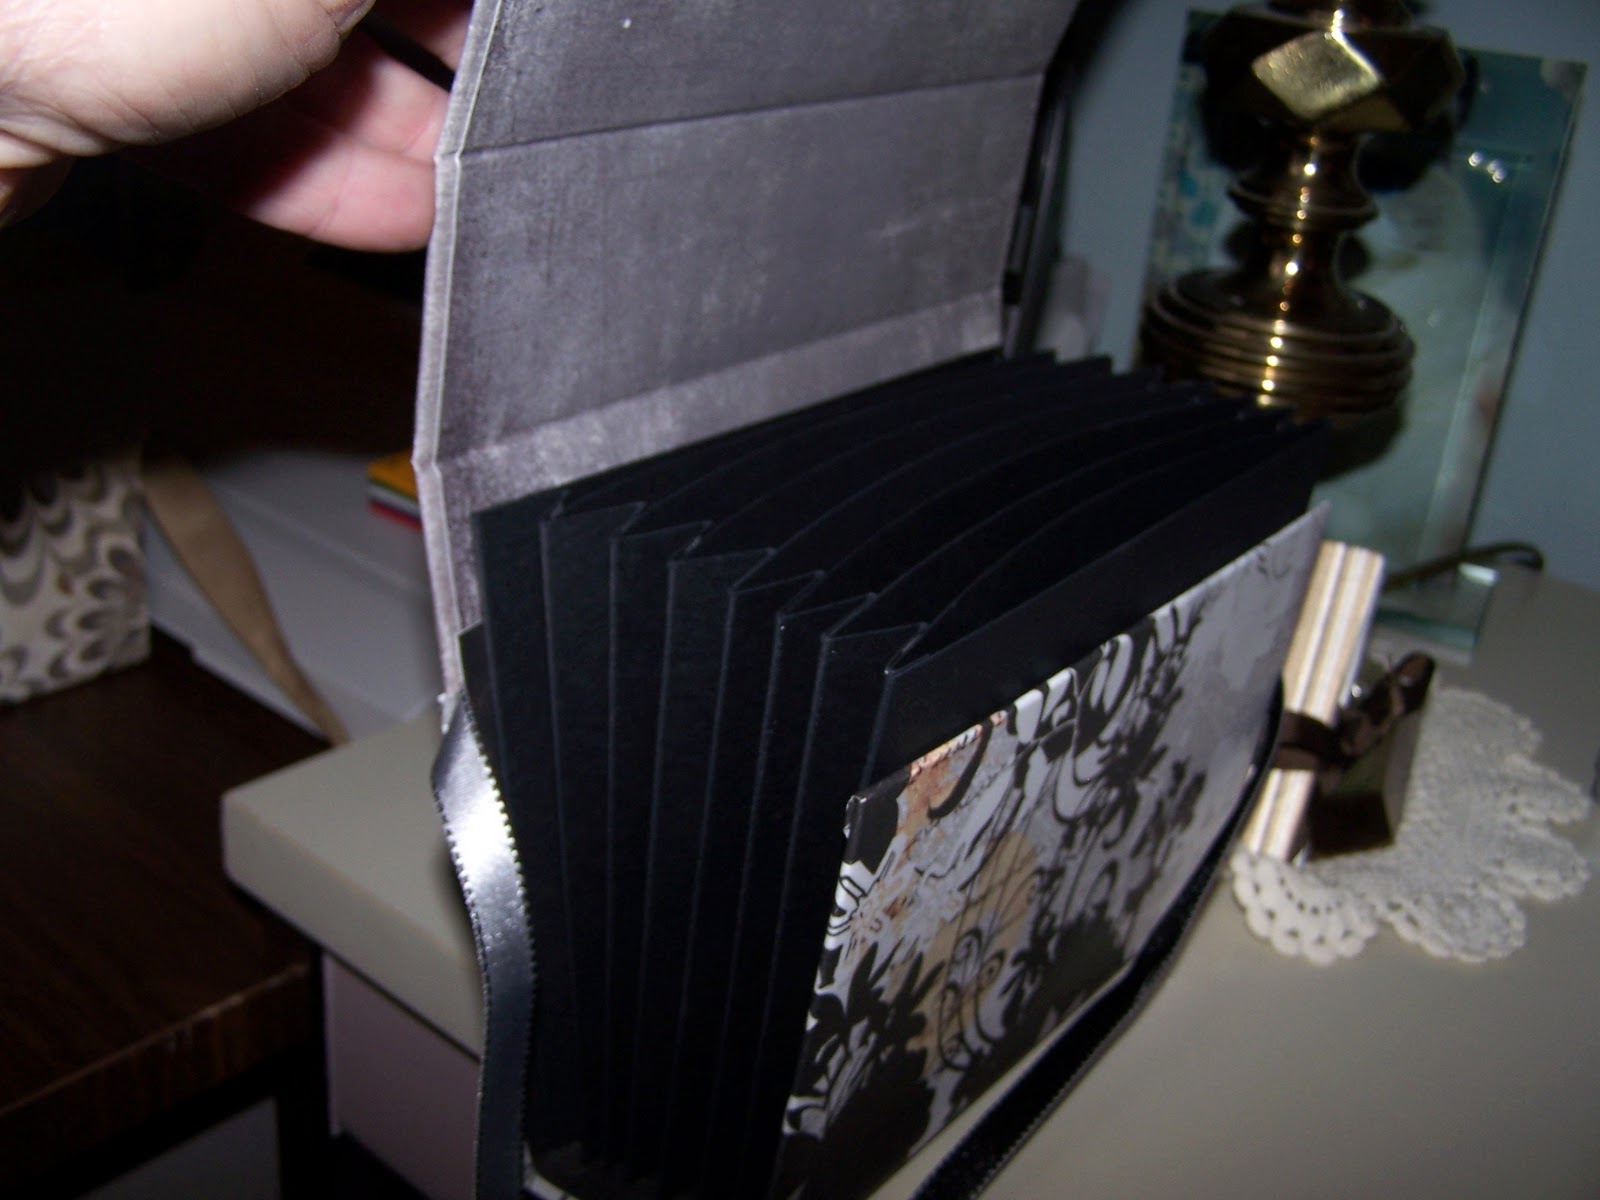
Here is another file box, but unfortunately the black file dividers do not photograph well - this box was floral in theme and basically black, grey and white.


Another view of the black/grey/white box.


This open to file box was devised for my kitchen, back when I lived in Michigan.  I wanted easy access to its contents so I left the cover off and made twice as many dividers for recipes that I intended to place in it.


Since moving to California, I have since found a different purpose for this same open top file box - I use it for hard copy back up of all of my digital photos - each re-writeable DVD has a family member on it and stored in this box - the extra dividers were needed as I have so many different DVDs from back ups.

Below are several more file boxes that were made during my week of total addiction to these fun boxes.


Now for my favorites and totally indispensable drop spine boxes - wonderfully designed to hold your most precious handmade albums and books.


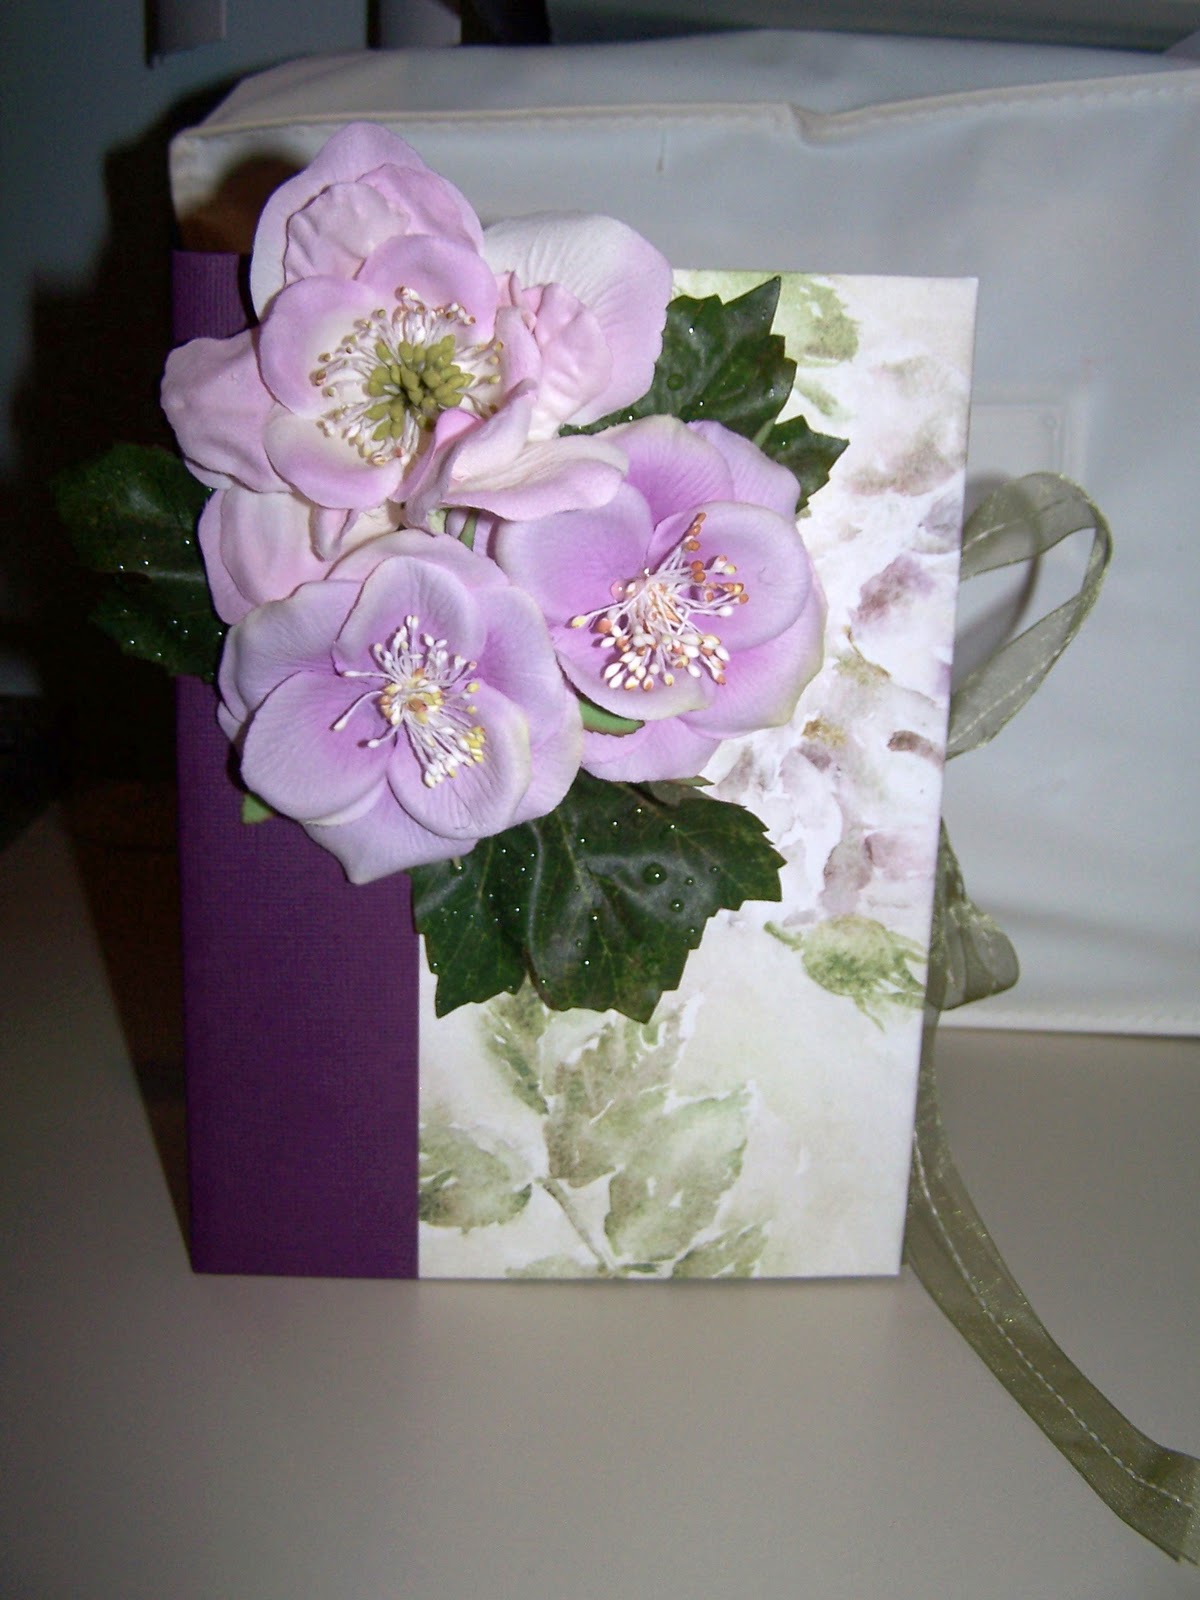
This is one of my favorites so far - the drop spine box.  I loved the orchid and green papers and the Prima roses fit perfectly with the paper.  This box can be made as large or as small as you like and any depth you need.  Great box for housing your finished albums.


This shot reflects the ribbon closure on the right side of the box.


Here is a view of the inside of the box - notice how the spine drops down and leaves the sides of the box free-standing but still enclosed.


Same box, different papers - next several photos will show this same box and the actual drop spine.


Well, I think that's it for tonight - wow, a walk down memory lane from about 5+ years ago....... I'll just have to make more of these little guys - love them!

Hopefully tomorrow, more pictures.  Maybe it will be the chipboard gatefold album........ hum, yeah that one (still not completed, but y'all understand that dilemna, right?) 

Sharon

Tuesday, October 26, 2010

A surprise for Neenie

The reason I started this blog yesterday, was because so many friends, loved ones, and new acquaintances have asked to see some of the books and projects that I have made in the past.  Since I have posted many of these projects on Facebook for family and friends, I didn't know how to share with those people that didn't have a Facebook account.  So, for those of you who may be on Facebook, and subscribing to this blog, I apologize ahead of time for any redundancies that you will be seeing.  Hang in there though, and keep checking, as new projects recently completed will be posted also.  

Since I started scrapbooking about 10+ years ago, I found over time that I could not find the right color, or right size of album, not expandable enough, and many other negatives regarding pre-made albums, for preserving events and precious pictures that I had.  That started my quest to make my own albums.  While searching to make a traditional post-bound album, I stumbled upon wonderful creations by other scrapbookers, called a mini album.  OMG, what wonderful little books/albums these were - the possibilities were endless.  So that's how the handmade book addiction started.  That was many years ago, lots of ugly ones, and lots of pretty ones resulted by trying new techniques and applying numerous techniques that I had acquired from various avenues, and putting them all together into one new concept.  

Every day, (hopefully),  for several days, I would like to post a collection of pictures of various books and projects that were made, and ultimately given away to someone special in my life.  I will also try to point out some of the techniques that were used and I invite you to ask questions or leave comments on any of the items that you see - I LOVE TO TALK HANDMADE BOOKS and just about paper crafting in general.

One of my first projects was a thank you album for my sister, Janeen - affectionately referred to as Neenie (which is what I called her as a small child and it stuck).  She was gracious enough to mastermind a large baby shower, in Michigan where we both lived, for my daughter who was pregnant with her first child and lived in Florida.  This was back in 2006.  It was my first endeavor at making this "purse" styled album, but it turned out cute.


Obviously, this is the front of the album - most, if not all, of the pages had machine stitching on them to add dimension and a nice, finished look.


Here is a closer view of the cover.


Here is a closeup of the little tag that hung from a ribbon attached to the handle.


Inside are various pockets which held pictures of my sister and I as children, along with our parents.  Each pocket held several pictures on double matting (double sided tags), with ribbons attached.

 
A picture of us along with sentiments and embellishments.


Fun pictures of us wearing the "birthday club hats" that my sister made for all of us in the club and we had to wear on our birthdays.


The envelope on the left page has a magnetic closure that held a "private love message" to my sister, and the pictures slid under ribbons crisscrossing the page on the right.


Here is a close up of the little envelope shown above that I made for enclosing the note to my sister.


Ribbon crisscrosses, pockets, metal embellishments and skeleton leaves surround pictures of us.


Close up of the left page with ribbon crisscrosses and pocket.


And finally, the back of the purse album.

Such fun to make - it was the first of many "same yet different" books of this style that I made - I just swapped out the papers, and changed the embellishments - I loved the concept, and loved the sturdiness of the book when completed.  

The lady that I got the inspiration from was Tonya Strange on Ebay - she lives in Lulu, GA - she's one of my Facebook buddies to this day - all because of my seeing on of her creations on Ebay, she custom made one for me, and I took off them there on my eternal search to learn to make it.  Ah, so long ago .......

That's it for this one ........... hope you enjoyed looking, like I enjoyed making it.

Shar